Hi
guys,
I’ve
been busy these days, but now I will be punctual like taxes (do you say so in
English, too?) in giving you some piece of news.
Well,
where were we? … Oh yes, I remember about having shewn you the recently painted
BARBICAN.
Does
any of you wonder how I assembled it?
Here I am with detailed instructions!
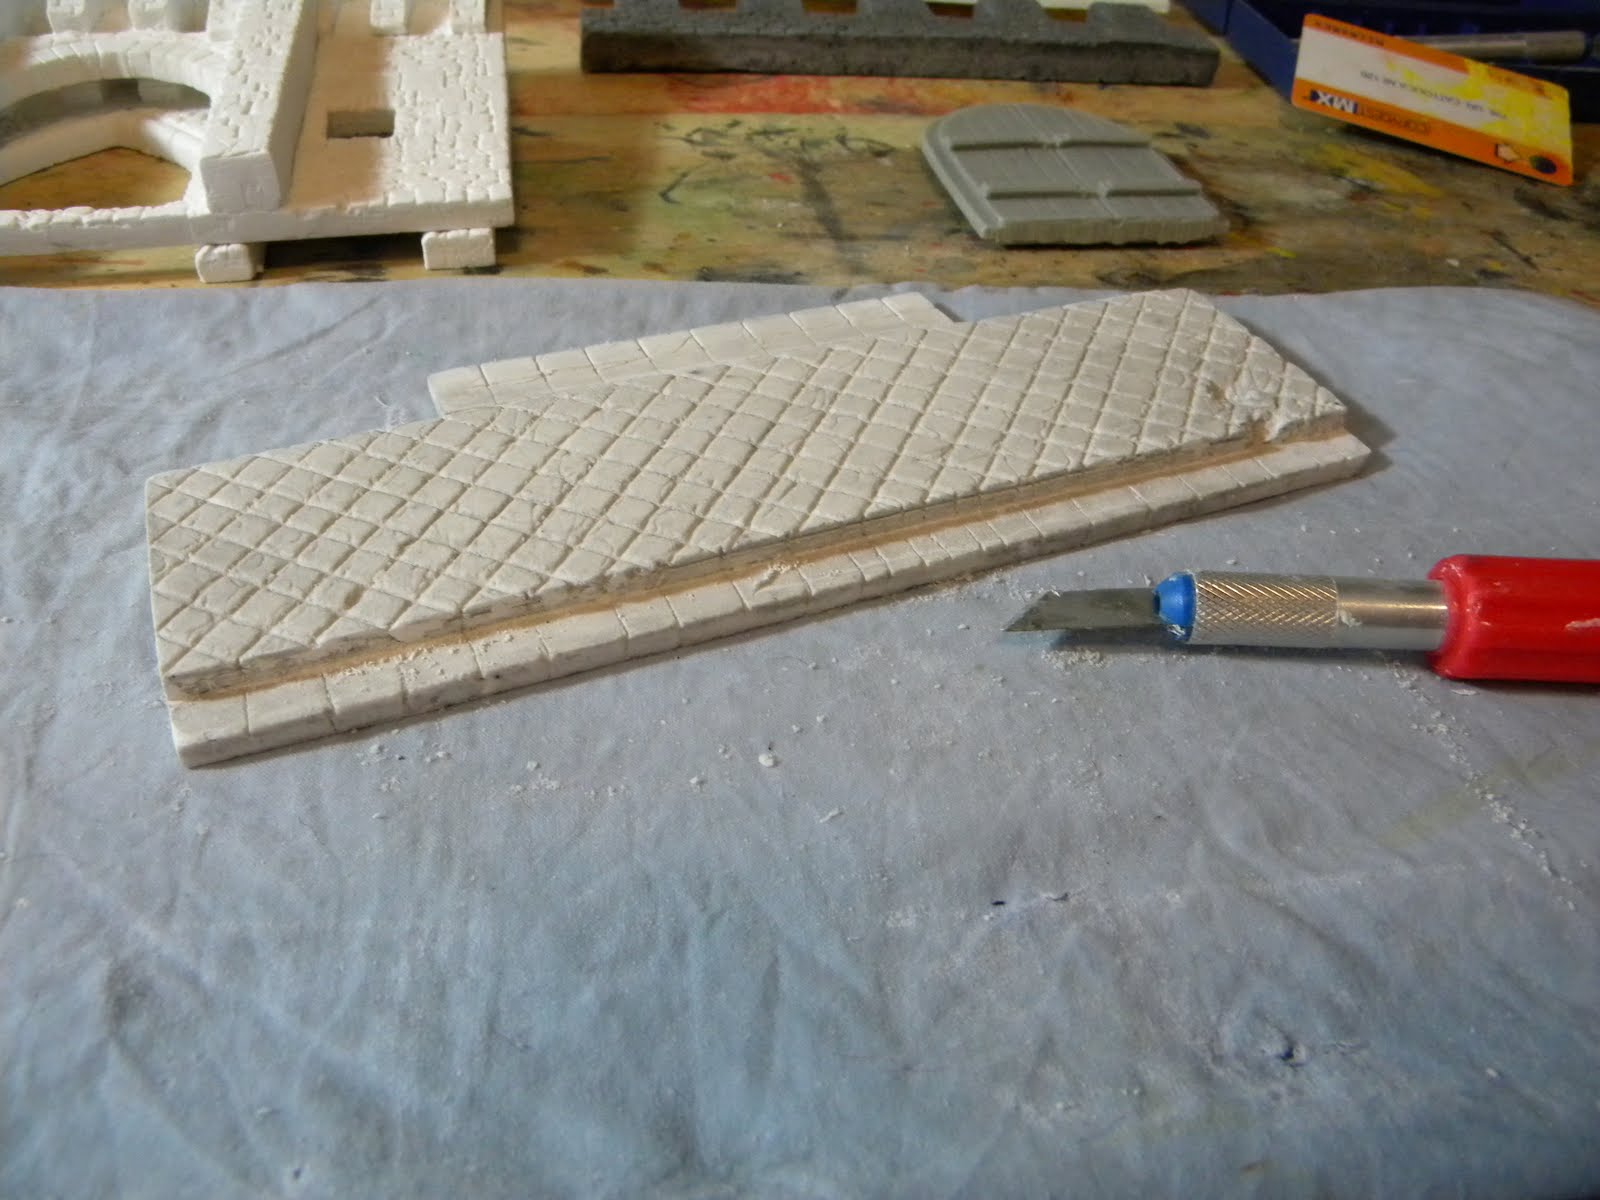
First
of all: prepare everything you need!

As
you can see in this picture, on my desk there are the single parts of the
barbican (the door is there by chance, it’s not assembled) and there are the bistouries
with which I usually clean the pieces. And some glue, of course.
The
most attentive of you will have noticed that there’s a blue cloth on the desk,
too. It’s humid, and I use it to collect the powder when I scrabble the pieces.
This trick will spare you a big amount of work to clean your house!
The
pieces don’t usually need very much cleaning: they are polished before they are
sold; but it sometimes happens that some kind of refinement is needed.
Here’s
an example of it. I am very accurate about the vertical walls (I try to keep it
all 90° squared).
Then
we go to the glue.
I
put the glue in this little stick of wood
(it’s only the stick of an icecream). No tricks here, I am just very generous
with quantities.

Here’s
where the piece goes:


You
can see it from two different points of view: one piece holds the inside,
another holds the outside of the wall. You will have to press firmly one side
of the wall, in order to make it merge in the glue. After that, I use these
plastic bricks squares to make the wall stand until the glue is solid.
Here
we are in a slightly more advanced stage of the work:
I
have already assembled the arrow loops,
and I am proceeding with the other side. I have had to increase the number of plastic bricks.
As
you can see, there’s a little chunk of wood, cut on the seize and sticked to
the walls. It’s just a temporary shape; I need to find a more definitive
solution: the ultimate structure will have a floor on it, but I would like to
have it removable, in order to be free to lift it when I play. On the other
hand, if I don’t fix it, the whole structure will be more instable.
I
could easily find a solution to this problem by putting an inside buttress; there are some in the kit,
destinated for the floors. But, as I am still not sure about what to do, for
the moment I have adopted this scheme. The original plan required internal
walls, but I would rather not to use them.
Well,
the barbican is placed (and, as you can see, it’s already painted), but I
haven’t said yet where I am.

The
picture is not the ideal one: I had the light in front of the camera, when I
took it.
Anyway,
the next stage will be the tower assembly. To say the truth, I had to make
uneasy decisions when I was assembling them. This one was painted using a more
complex procedure than the barbican, in order to make the bricks more
effective. I don’t know if this was worth while; what do you think?
No comments:
Post a Comment